Step 1: Open your favorite browser and type https://community.jaspersoft.com/download press enter. And then you will see the official download page of Jasper community. Please see the image below.
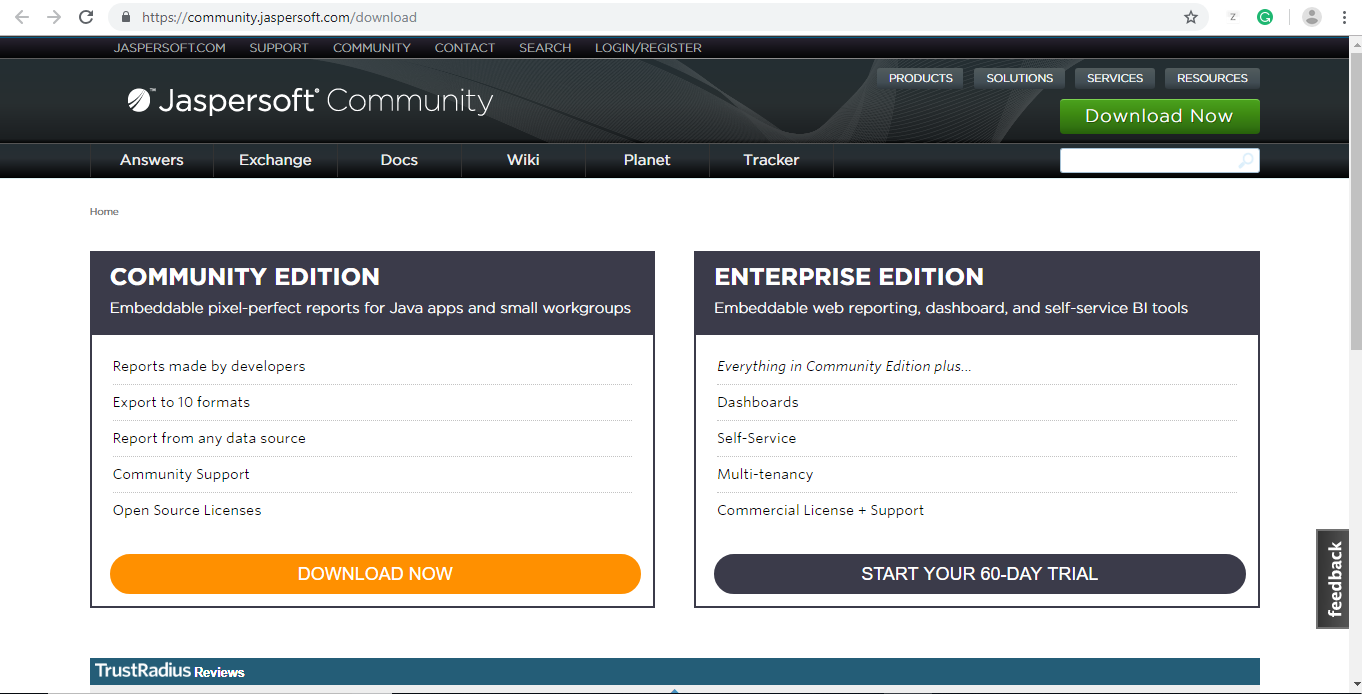
Step 2: On this page, we have two choices for download. First is a community edition which is free for use and has some limitation. Also, we have another option “Enterprise edition” to download. And it is available for 60-days free trial. If you are going to use commercially then you must purchase a license. If you are a student or just want to do some hands-on practice then you can proceed with the community edition version. In this tutorial, I am using a free version which is a community edition for learning purpose only.
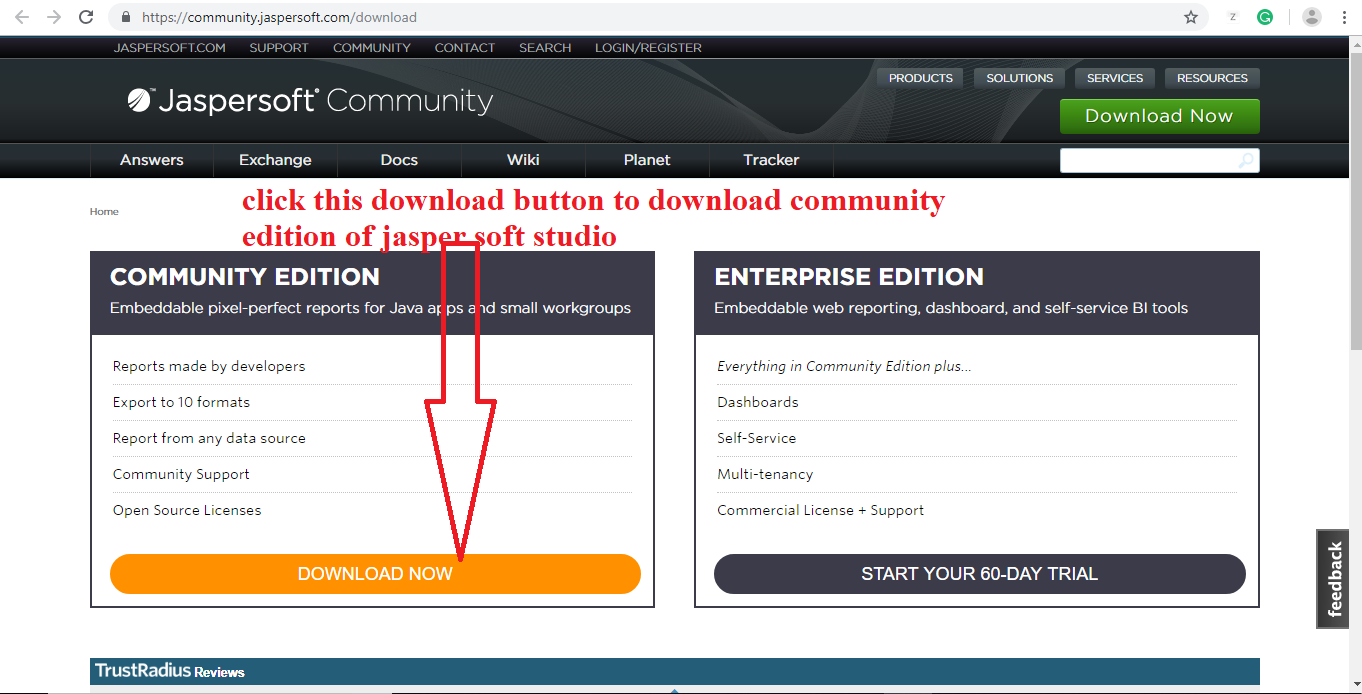
Then you will be redirected to another page which will look as given in below image with multiple jasper tools.
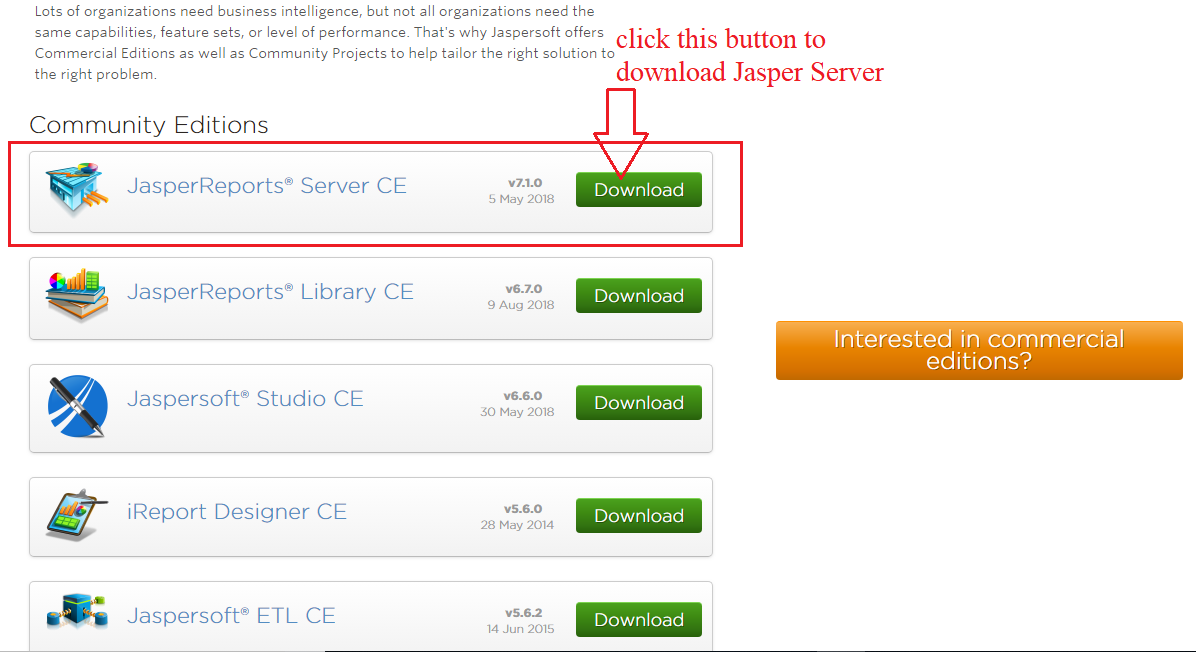
On this page you have to click on third download button which is “JasperReports Server CE” then again you will be redirected to another page where you have to click on the link to download actual setup. Please see the image below:
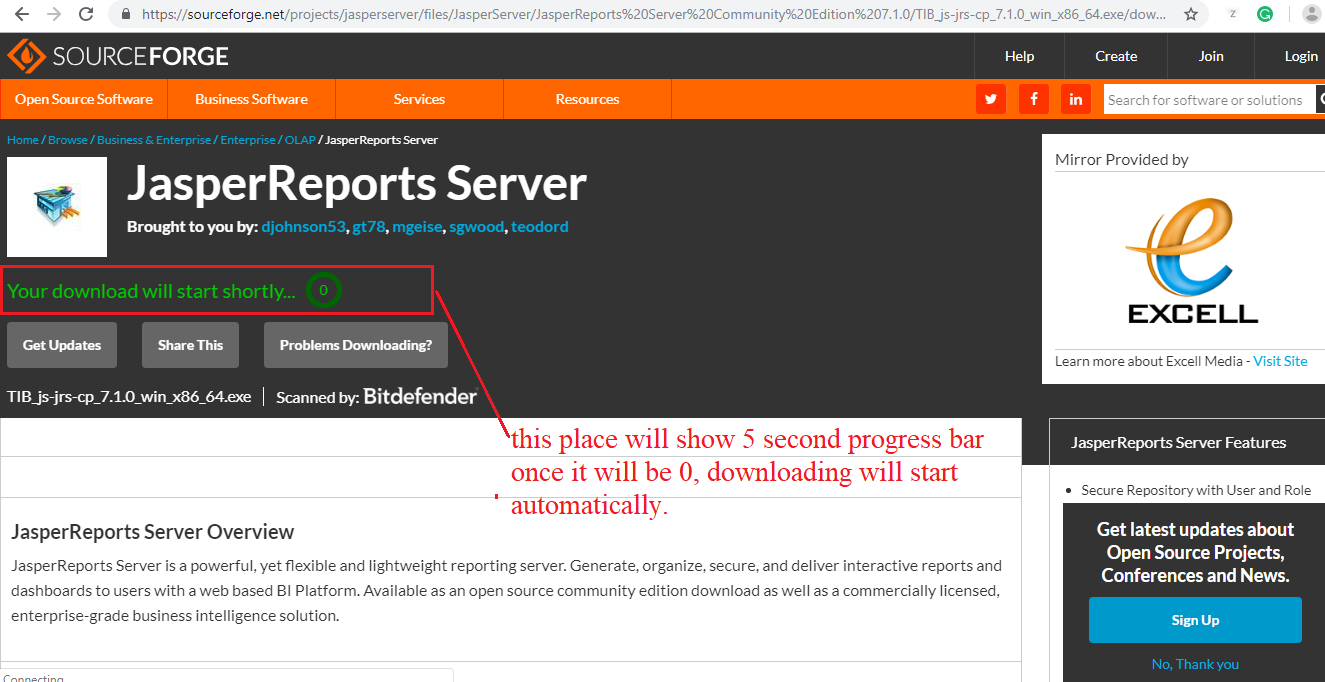
Once you click the link, a popup message box will appear where you just click on “No thanks” to close this and the new web page will appear, here on this page, we will see the message that download is going to start in next 5 second. In the next 5 second exe will start downloading on your computer. Please see the below image.
Downloading will take time as per your net connection speed it is about 372 MB in size. So please have Patience and wait for complete downloading. Once it completes so just double click on exe to run.
Step 3: Once you click your window will ask permission for installation so just click the “YES” button and finally you will see very first setup window:

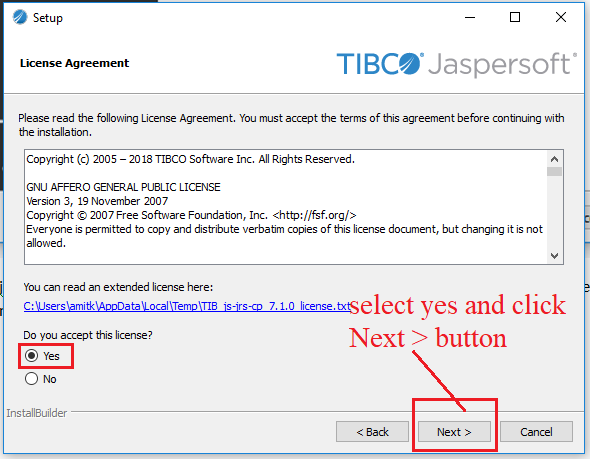
Now click on Next button. Then License agreement page will appear so just choose the “Yes” radio button and click to the next button. Please see the below image:
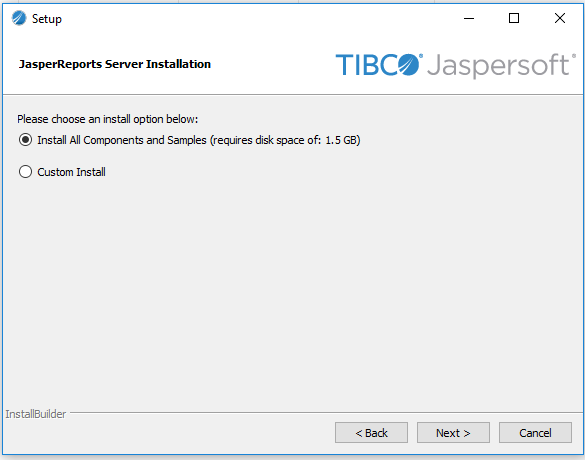
The next screen will appear. Please see the screenshot below. On this window, you have the option for installation type. By default “Install all components and samples” are selected. Leave this as it is and click on next button.
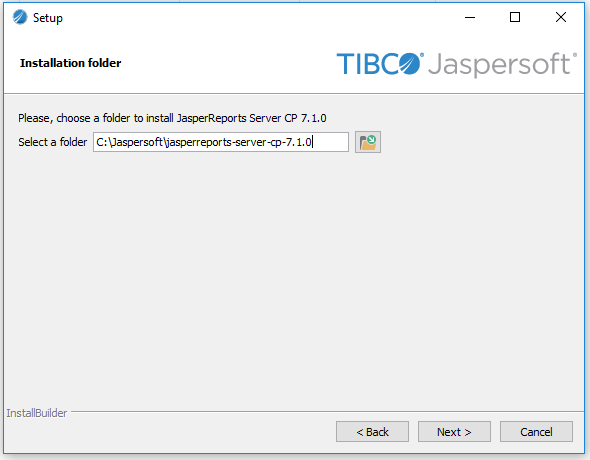
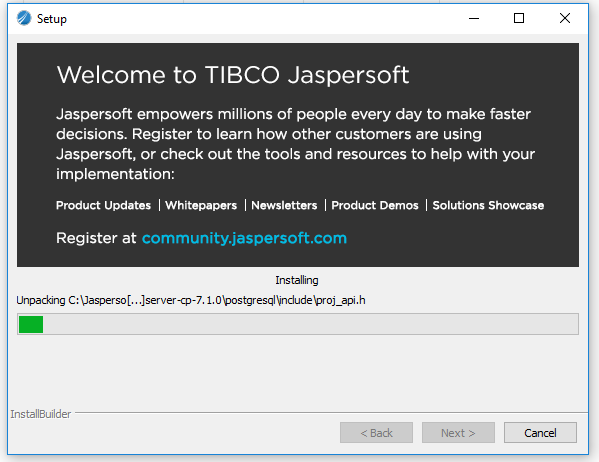
After selecting the installation path once you click the Next> button then you will see a progress bar on next window. In this step, the installer will start loading all required files on your system.

Once you click “FINISH” button Jasper server take to start and URL (http://localhost:8080/jasperserver/login.html) will open in chrome browser automatically and you will see this page. If you seeing this page that means your jasper server is installed successfully.
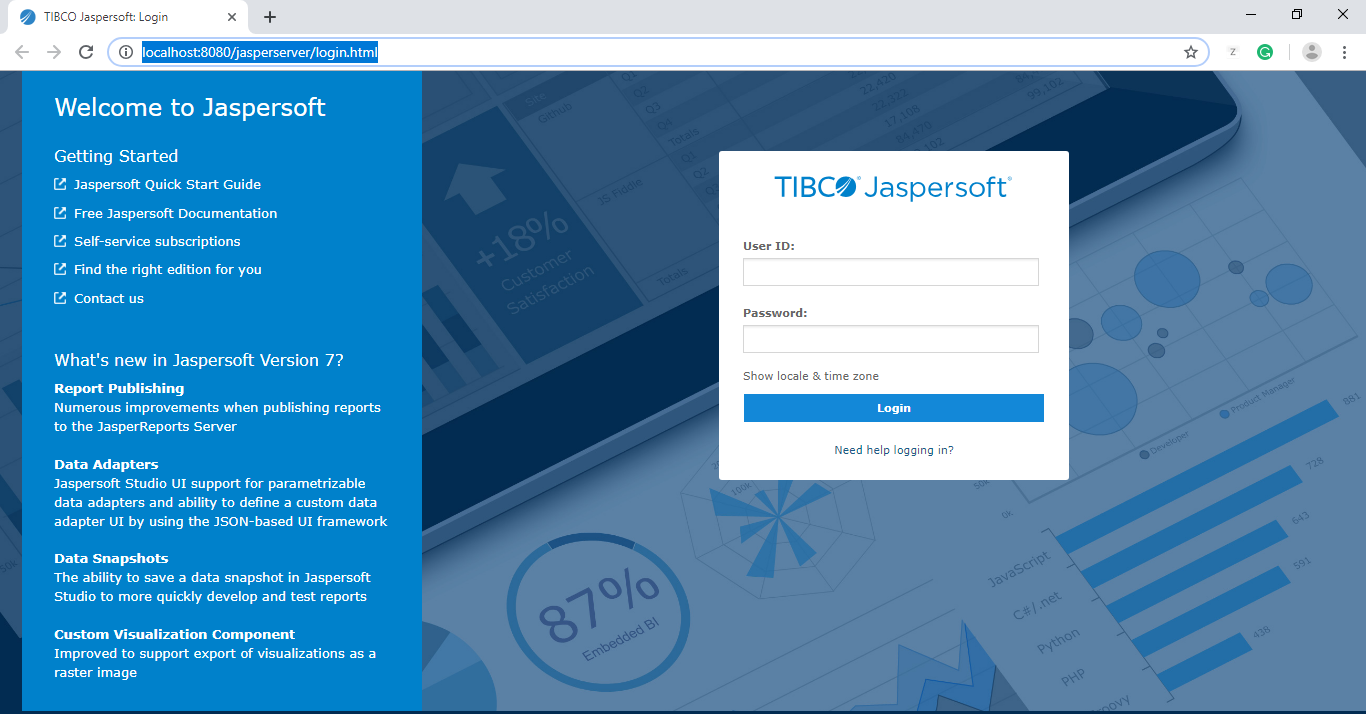
Here on this page, you have to enter user/password given below.
User: jasperadmin
Password: jasperadmin
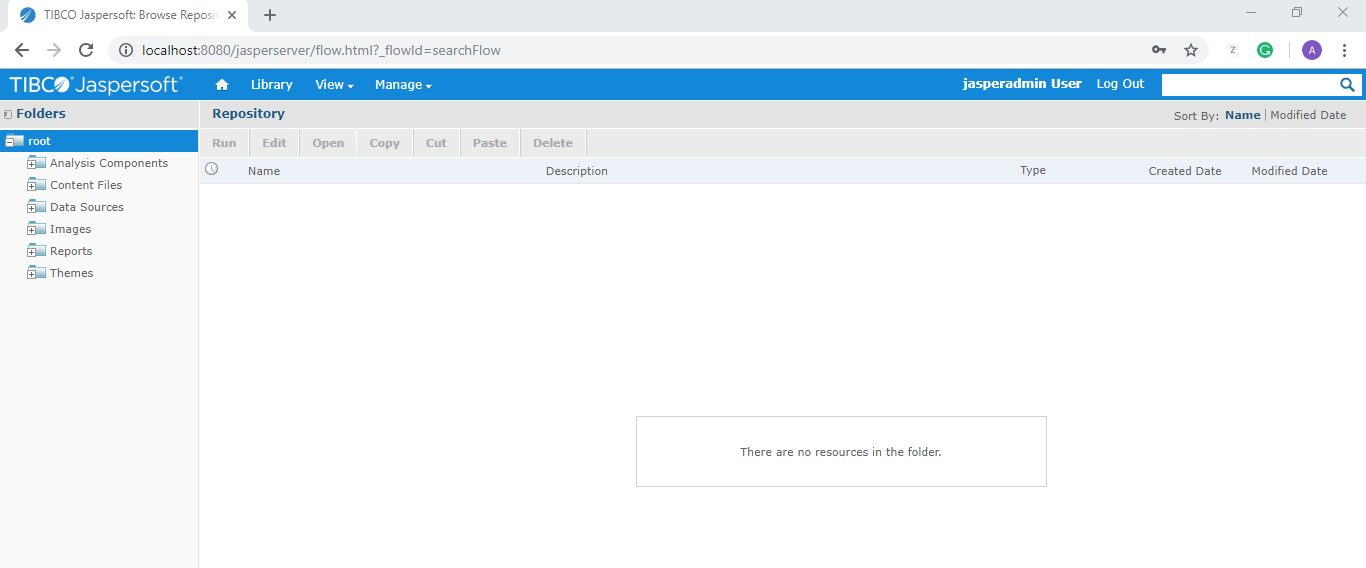
After successful login, you will see the home page of the jasper server. Please see the screenshot below.
If you guys have any doubts so please comment. I will try my best to provide the best solution to your question and doubts.
Thank for reading. 🙂